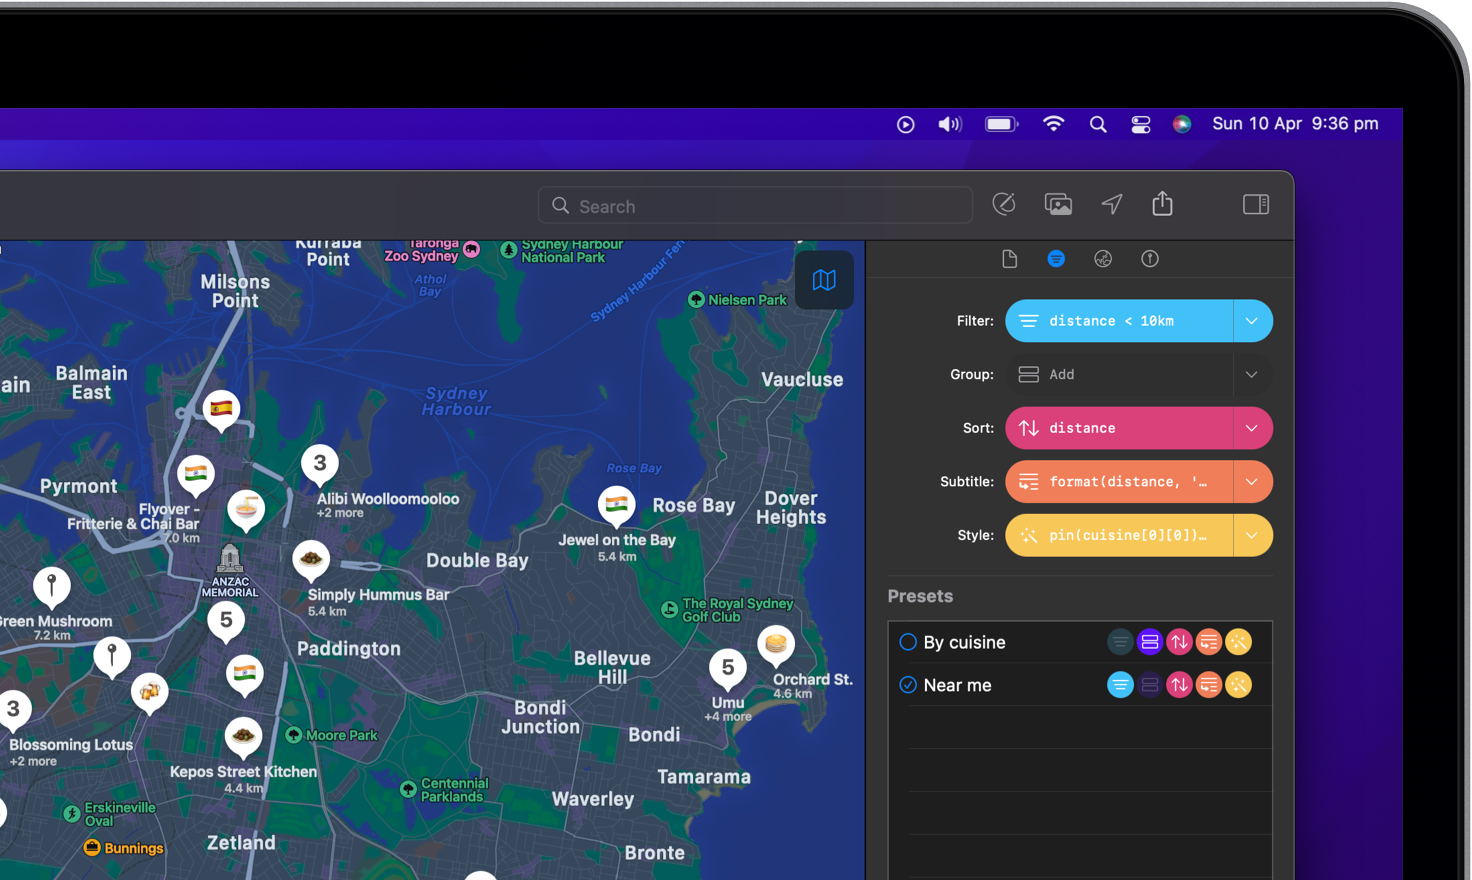
Filter, group, sort and more
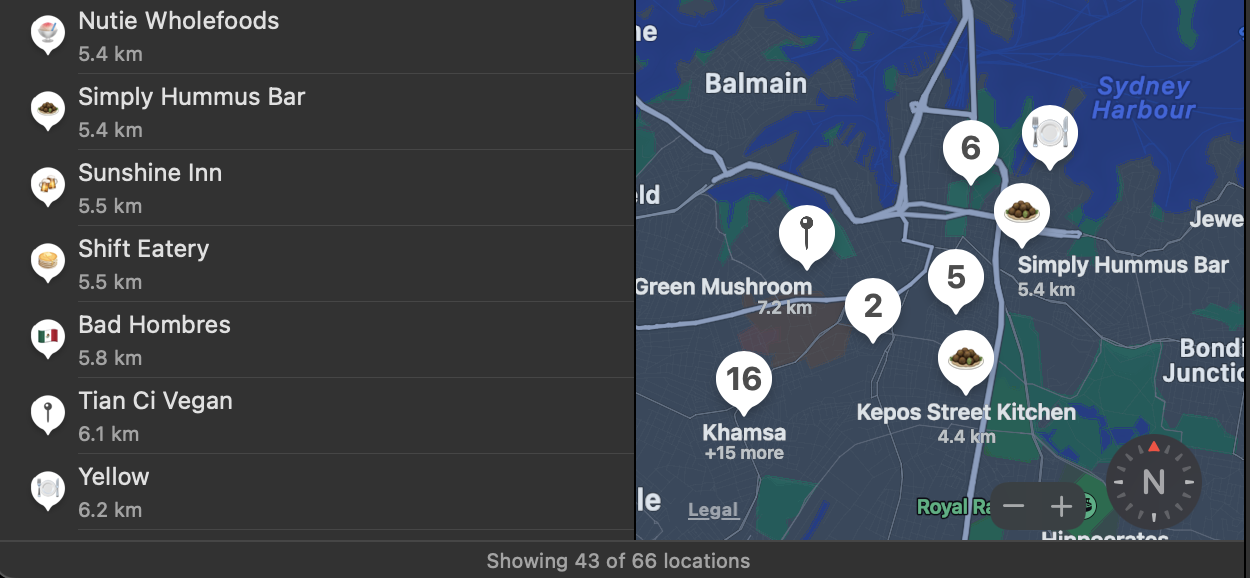
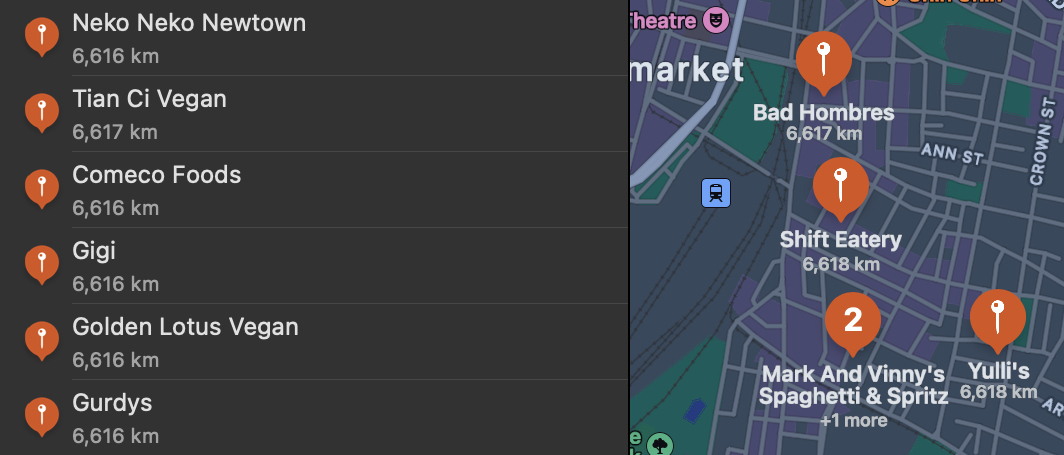
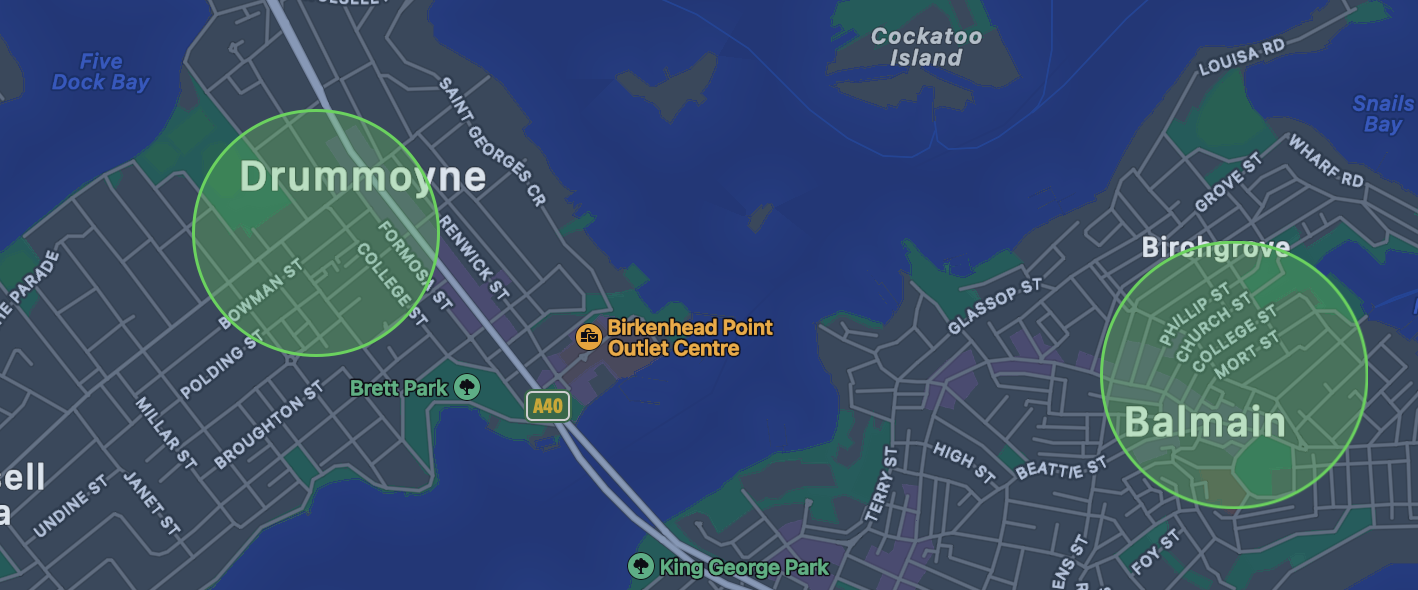
You can change the way that your map data is organised. For example, you can filter the locations and/or routes that are displayed, change pins to circles or sort the list based on which locations are nearest to you.
These settings can be jointly saved as a preset so that you and others can quickly switch between different views.
Create a new view
-
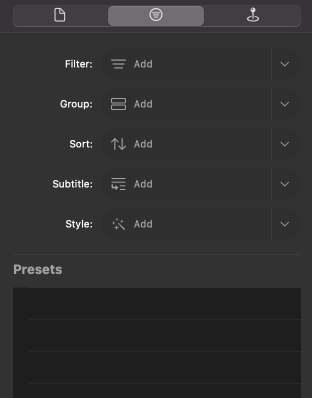
To start creating a new view for your collection, find the “Organise” tab in the inspector panel.
-
Maparoni works with formulas to ensure maximum flexibility. You can quickly access pre-made formulas by clicking on the arrows:
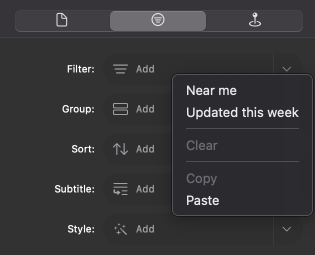
You can also write formulas yourself by pressing the “Add” button. See the formula documentation on how to write formulas.
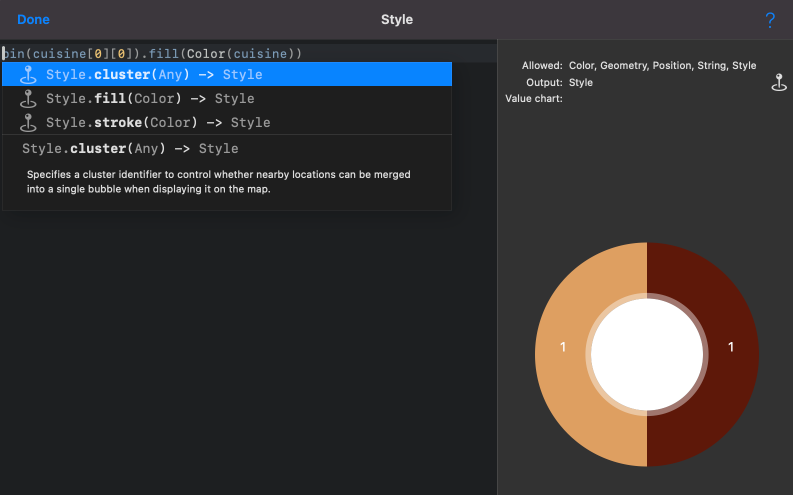
A preview on the right provides quick feedback on the result of the query.
-
If you’d like to:
-
Filter the locations and routes that are displayed, click on the arrow to select a pre-made formula or click on the “Add” button to write your own:

-
Group items together, click on the arrow to select a pre-made formula or click on the “Add” button to write your own:

Example
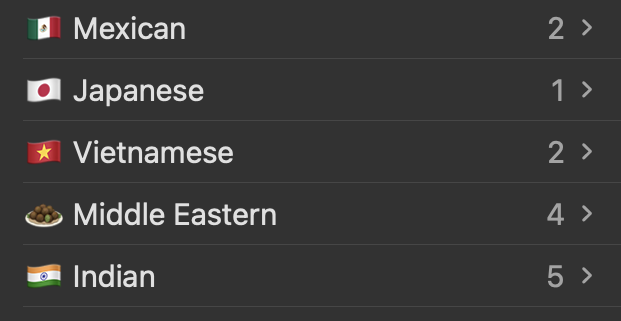
If you have a multiple choice field named “cuisine” that contains different cuisine types and you like to group your favourite restaurants by this field, write:
cuisine. Locations that have multiple cuisine types appear multiple times - once in each group. -
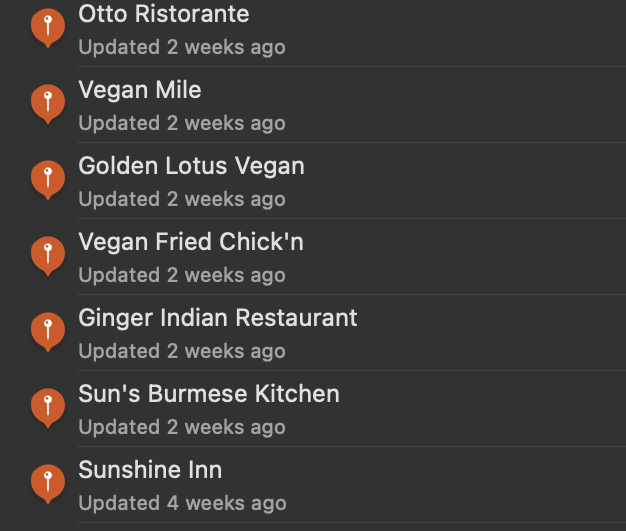
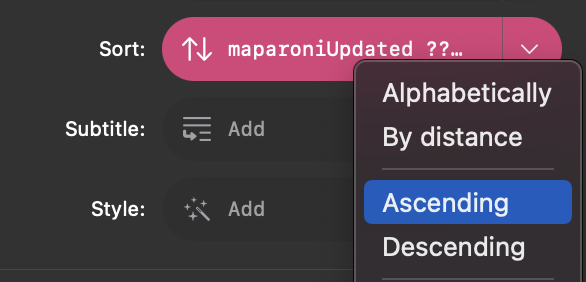
Sort the items in your list, click on the arrow to select a pre-made formula or click on the “Add” button to write your own:

You can change the sort order by selecting “Ascending” or “Descending” from the same dropdown menu:
-
Add a subtitle, click on the arrow to select a pre-made formula or click on the “Add” button to write your own:

The subtitle will appear underneath the main title in the list and on the map.
-
Change the appearance of pins and routes by changing their shape, size or colour, click on the arrow to select a pre-made formula or click on the “Add” button to write your own:

Find more formula examples on the formula documentation page.
-
-
To save a view, click the “+” button at the bottom left corner of the “Presets” section.
Alternatively, right-click in the dark area and select “New Preset”.
-
New views will be saved in the Presets section:
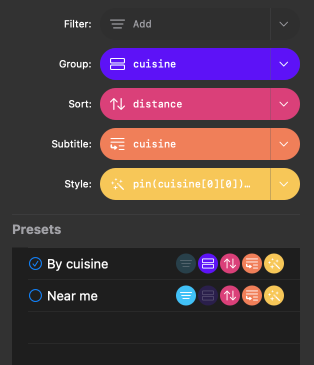
- To edit a view: Click on the radio button in front of a preset name to activate it. Any changes you make to the formulas will be automatically saved.
- To delete a view: Right click on a preset and select “Delete”.
-
You can copy both views and formulas to other collections. Right click on a preset to copy a view or on the arrow next to the formula button to copy a formula.
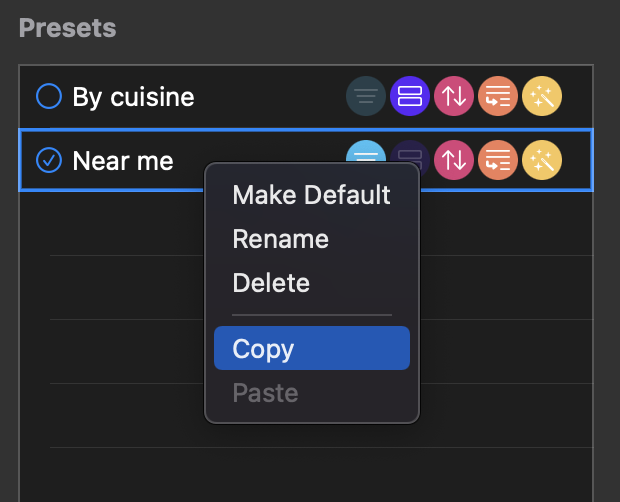
Navigate to another collection and press right click in the preset area to paste a view or left click on the side of the formula button to paste the formula.
-
To turn a view on or off, click on any of the radio buttons in the preset list. These presets will be quickly accessible on mobile devices as well as when the collection is published to the web.
